I love cheesecake. I don’t think I have ever met a piece of cheesecake that I didn’t like. But I used to avoid it because cheesecake is one of those desserts that is so decadent, it was hard for me to stop thinking about the pure poundage I was eating long enough to enjoy it. That was before I brought another human being into this world without the assistance of an epidural, however. If I can survive that experience, I am sure that I can handle my cheesecake! I just have to keep running and make sure that I give away more treats than I eat.
That said, when I came across this recipe, I knew I had to try it. And I am so glad that I did! It was a huge hit at the party, and I really liked it, too. The dulce de leche makes it VERY rich and sweet, so cutting it into tiny pieces is a really good idea. That way those of us with normal metabolisms can enjoy a little treat, and the teenagers with hyper-active metabolisms can grab a handful or two (and they did!) and everybody is happy.
The recipes that I looked at (there were a couple that I was comparing) said that dulce de leche can be hard to find, and I would agree. I was able to find some at Publix, but they only had one kind and it was in a block wrapped in celophane, kind of like a giant caramel. The recipes said that it usually comes in a jar…and the dulce de leche in their photos looked a lot more runny than mine. Mine came out very thick and sugary. I think next time I am ready to make this cheesecake, I will try to find some dulce de leche to buy online and see how much (if any) of a difference there is between the block format and the jarred kind.
I should have taken more pictures of the steps to this, but in fact I didn’t take any until the very end. Sorry, guys!

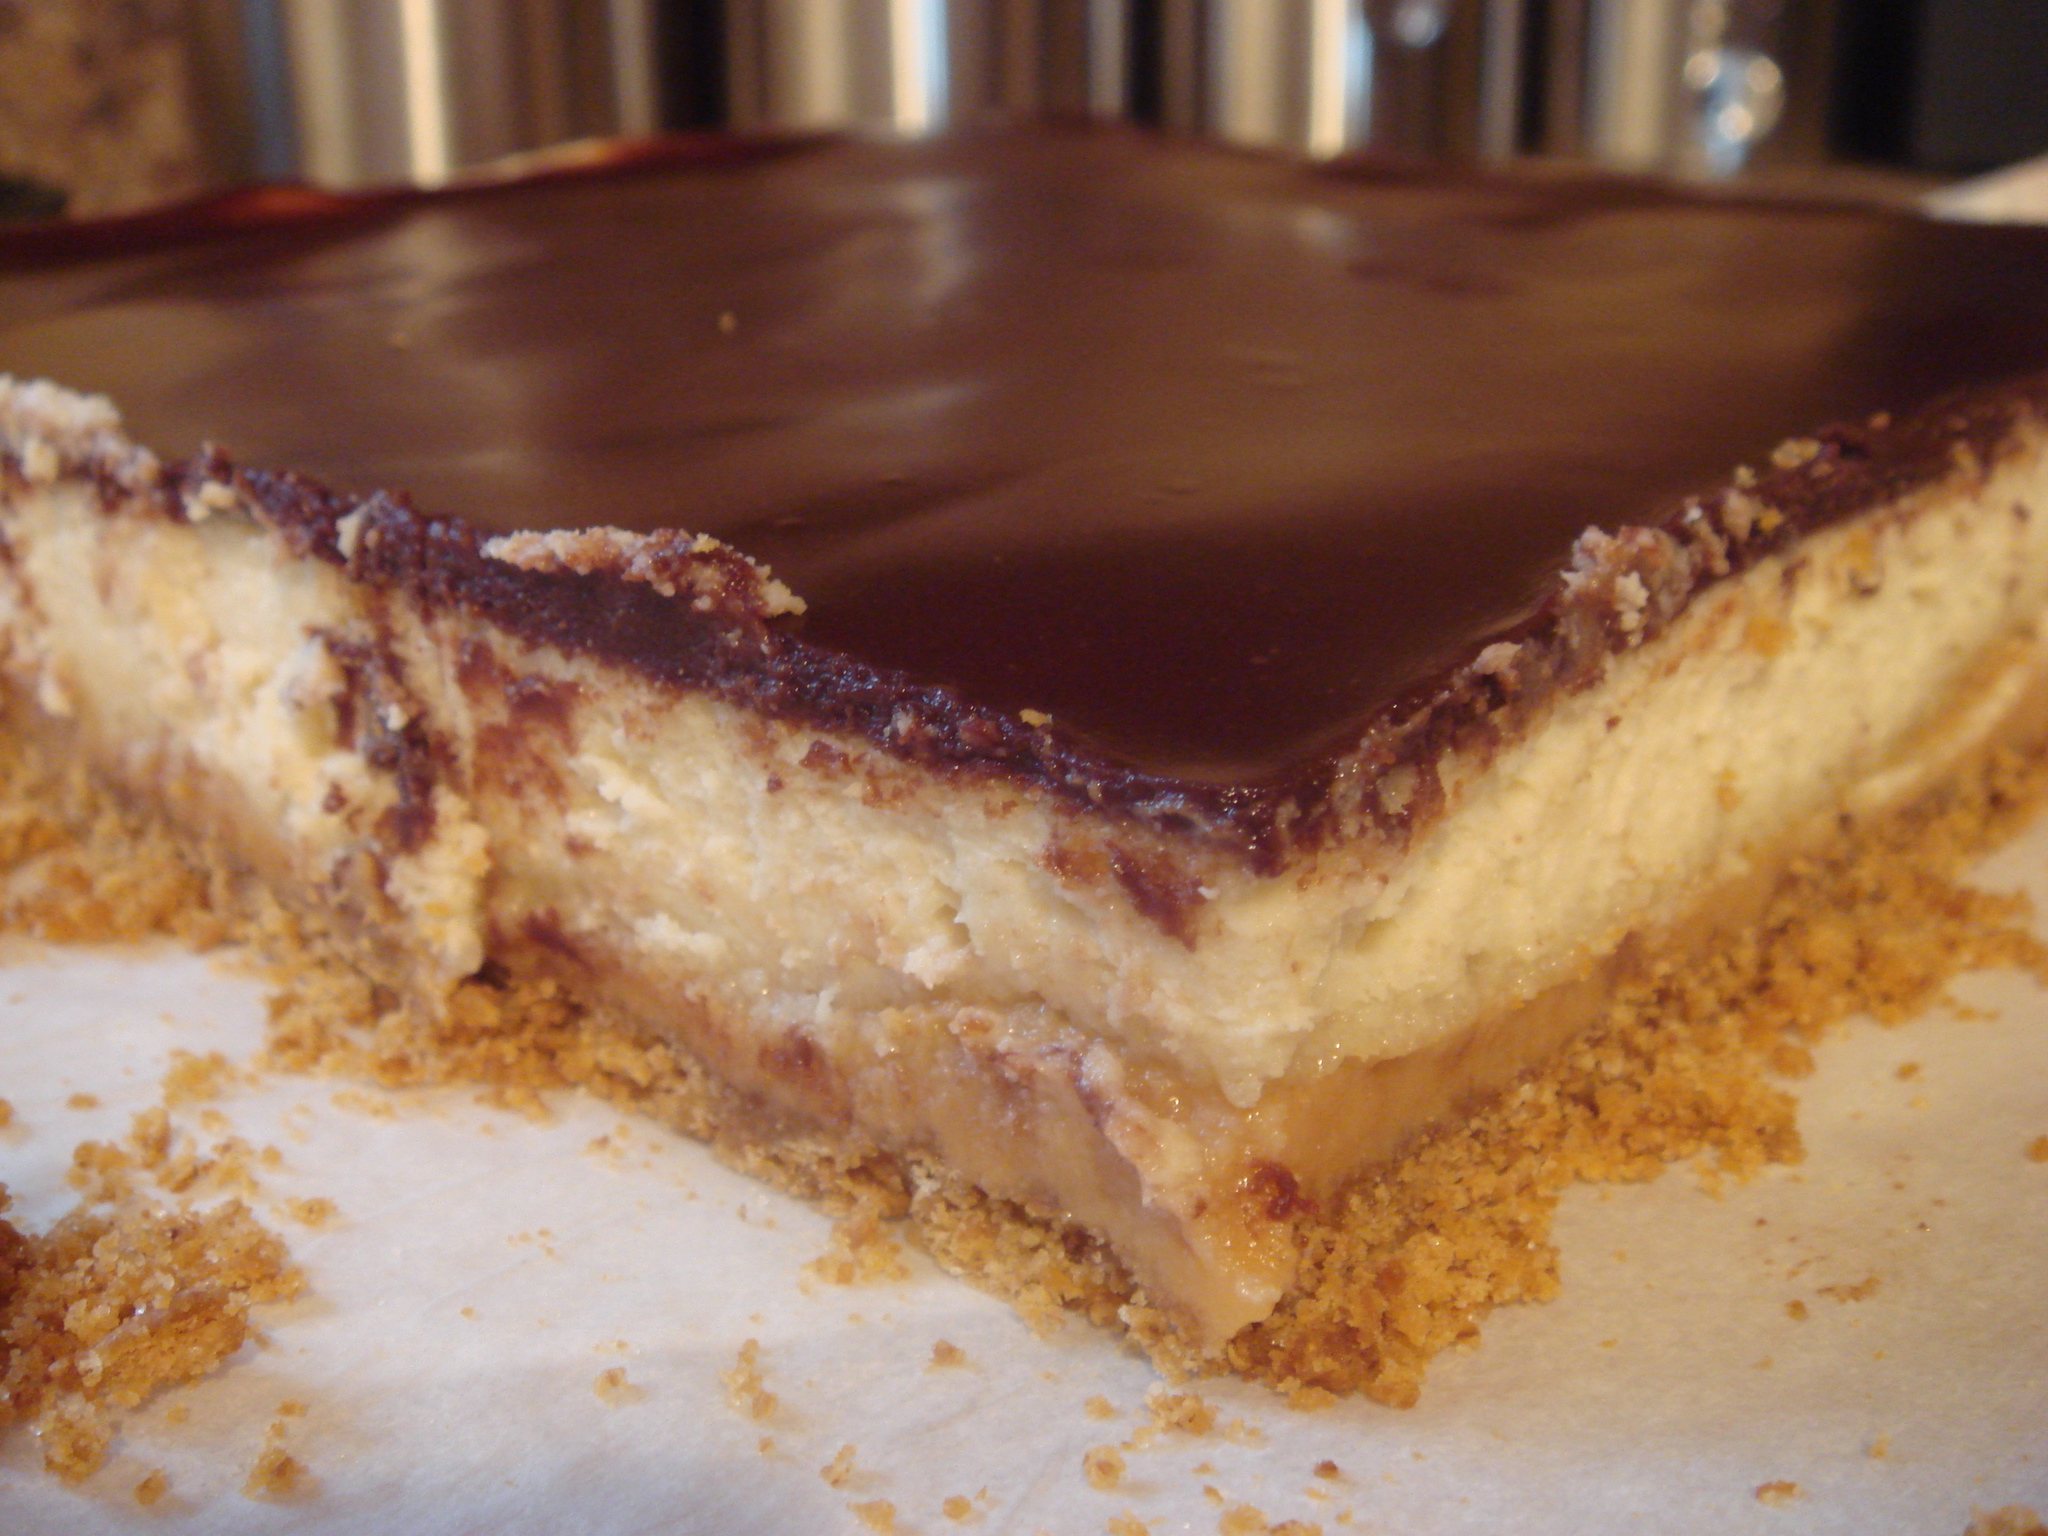
Mmm layers o' goodness!
Without further ado, the recipe:
Dulce de Leche Cheesecake Squares by BrownEyedBaker
Makes 36 small squares
For the Crust:
-3½ ounces graham crackers, crushed (1 cup of crumbs)
-2 tablespoons sugar
-3 tablespoons butter, melted
For the Filling:
-12 ounces dulce de leche or 1 cup (or caramel, if you can’t find it and don’t want to make it)
-16 ounces cream cheese, at room temperature
-½ cup granulated sugar
-2 eggs
2 teaspoons vanilla extract
For the Glaze:
-3 ounces bittersweet chocolate, coarsely chopped
-½ stick (4 tablespoons) unsalted butter, cut into pieces
-2 teaspoons light corn syrup
To Make Dulce de Leche: Pour one 14-ounce can of sweetened condensed milk into the top of a double boiler pan and cover. Place over boiling water. Cook over low heat, stirring occasionally, for 40 to 50 minutes, or until thick and light caramel-colored. Remove from heat and whisk until smooth. (I’m curious to see how this would turn out, so if any of you try it, let me know!)
Directions:
Make the Crust.
1. Position an oven rack in the middle position and preheat oven to 325F. Line the bottom and sides of an 8-inch square pan with parchment paper, leaving a 2-inch overhang on all sides. Spray parchment paper with non-stick spray.
2. Finally grind the graham crackers with the sugar in a food processor. With the motor running, add the butter, blending until combined. Press mixture evenly onto bottom of baking pan. Bake 10 minutes, then place on a cooling rack to cool for 5 minutes.
Make the Filling.
1. Spread the dulce de leche evenly over the graham crust, then place pan in refrigerator while you prepare the cream cheese layer.
2. Beat the cream cheese on medium-high speed unti light and fluffy, about 3 minutes. Add the sugar and continue to beat on medium-high for another 2 minutes. Add the eggs, one at a time, beating well between each addition and scraping down the sides of the bowl if necessary. Beat in the vanilla extract.
3. Pour the cream cheese mixture over the dulce de leche layer evenly, and bake for 45-55 minutes, or until the center only slightly jiggles. Remove from the oven and cool completely before refrigerating for at least 3 hours.
Glaze the cake.
1. Heat the chocolate, butter and light corn syrup in a double boiler or in a microwave at 30-second intervals, stirring until smooth. Pour the glaze over the cheesecake, tilting the pan to ensure the top is coated evenly. Chill for at least 30 minutes before serving.
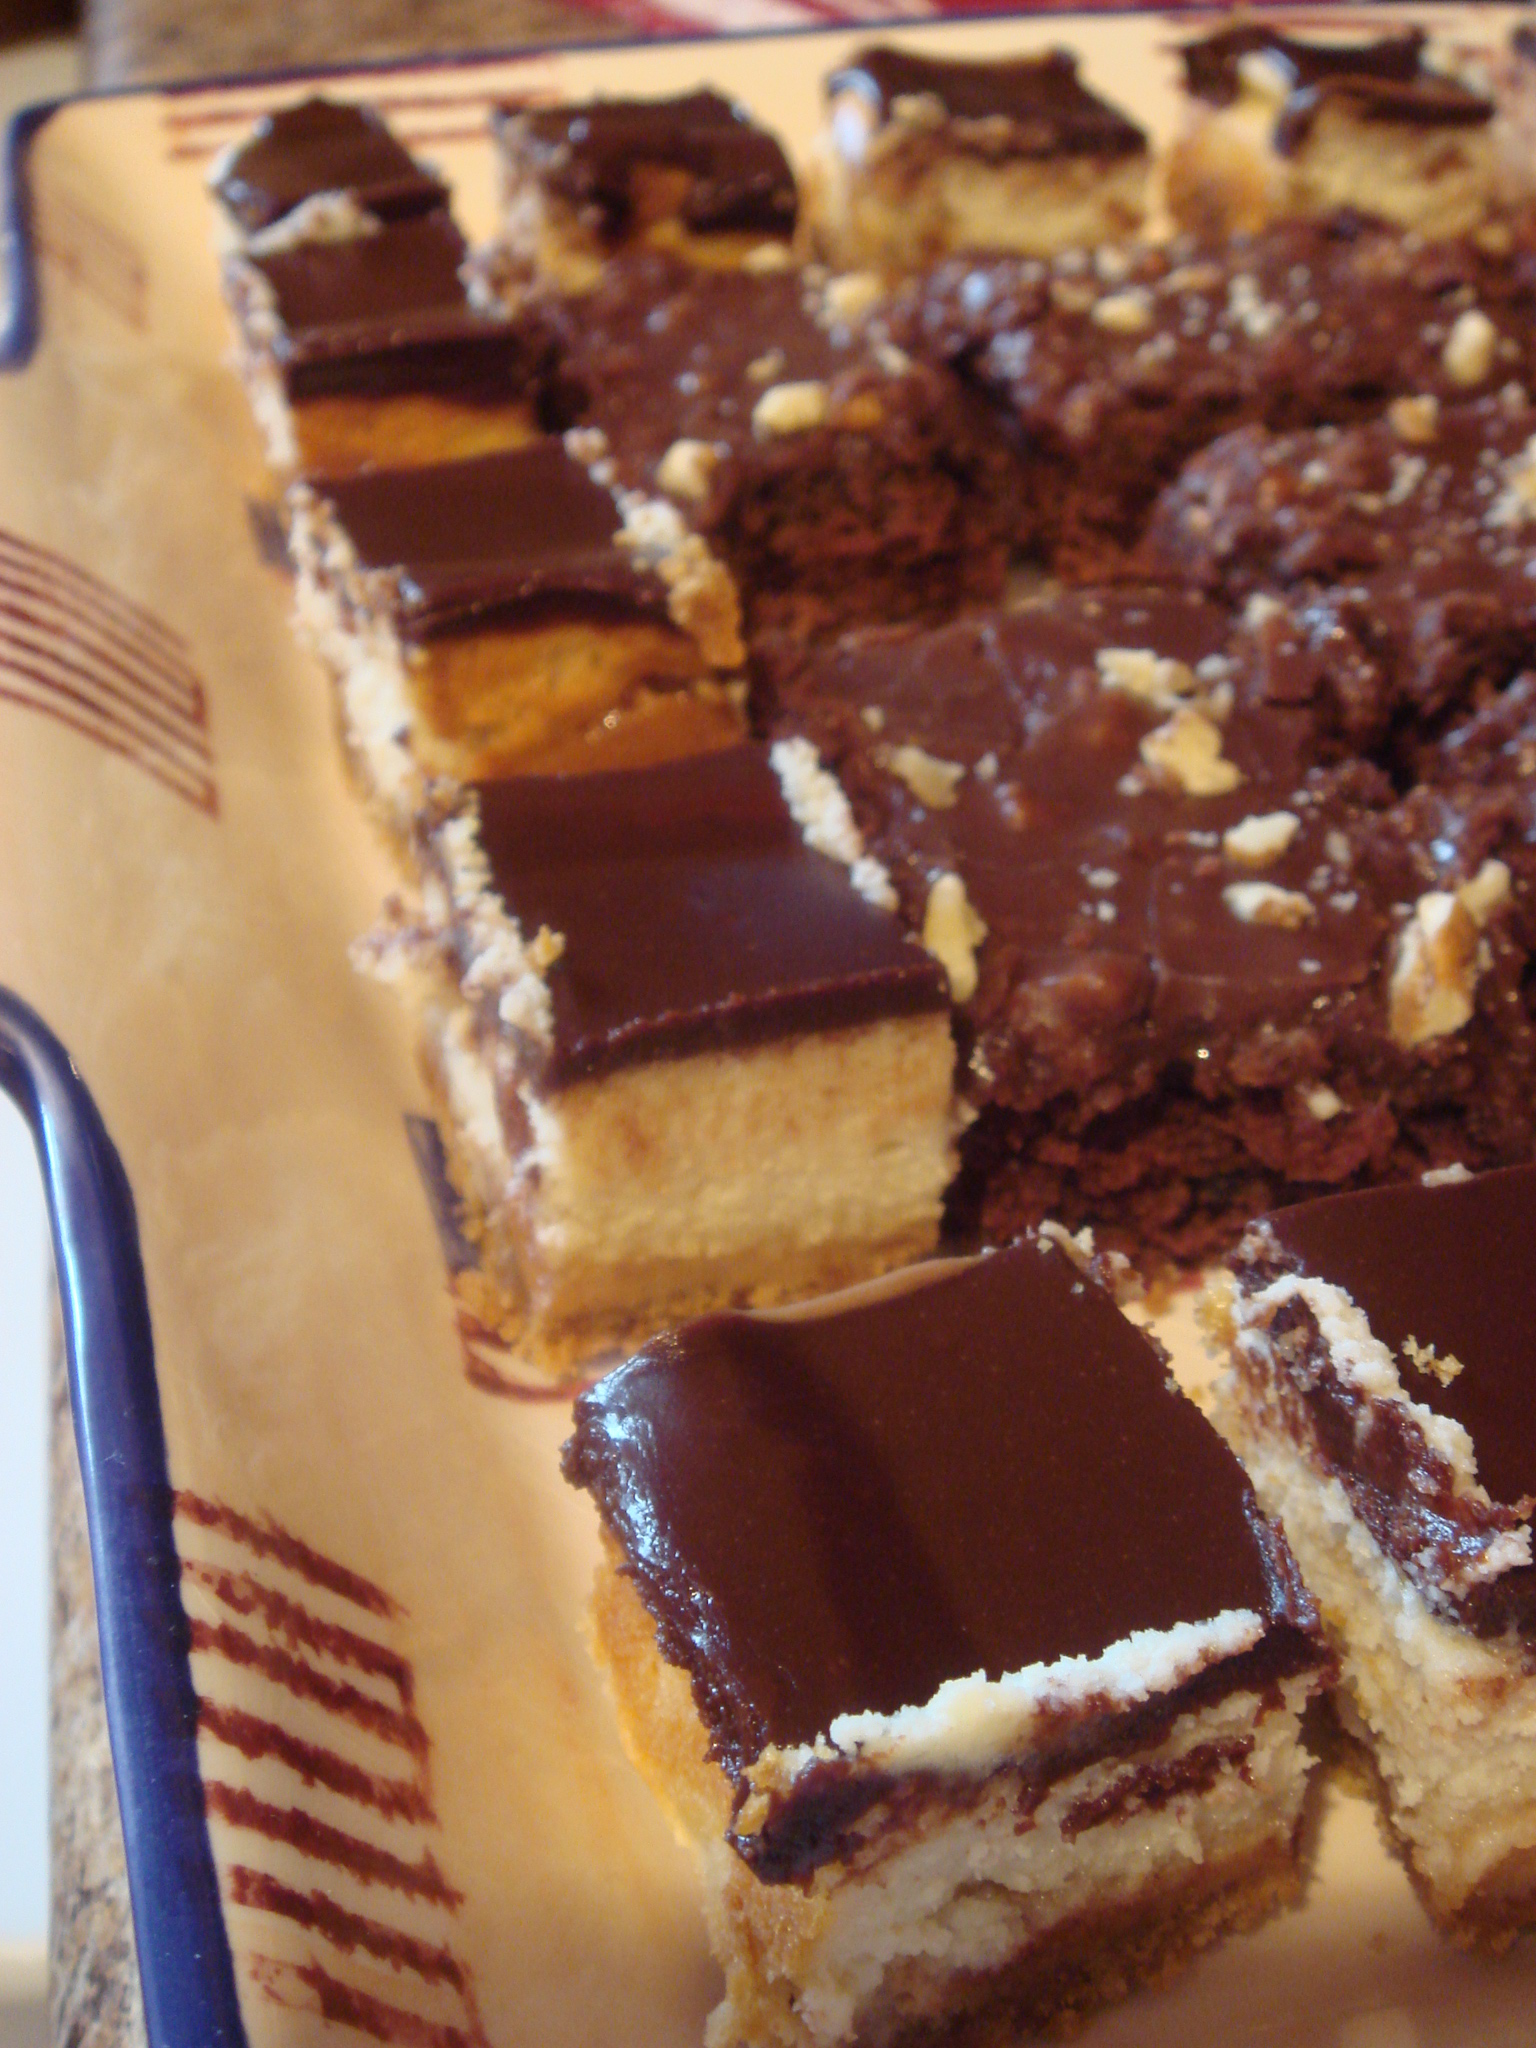
2. Lift the cheesecake from the pan using the parchment handles and slice into squares using a sharp knife, wiping it clean after each cut. (As you can see, I got too impatient and skipped the “wipe it clean after each cut” step. They would be much prettier if you would NOT be like me. Also, I thought about using some white chocolate and piping neat little designs on the tops of them, but I ran out of time.)

Cheesecake bites and sheet cake - oh buddy!
Don’t fear the cheesecake,
Becki


{ 1 comment… read it below or add one }
I’m so thrilled that you enjoyed these!!! Aren’t they fabulous?!