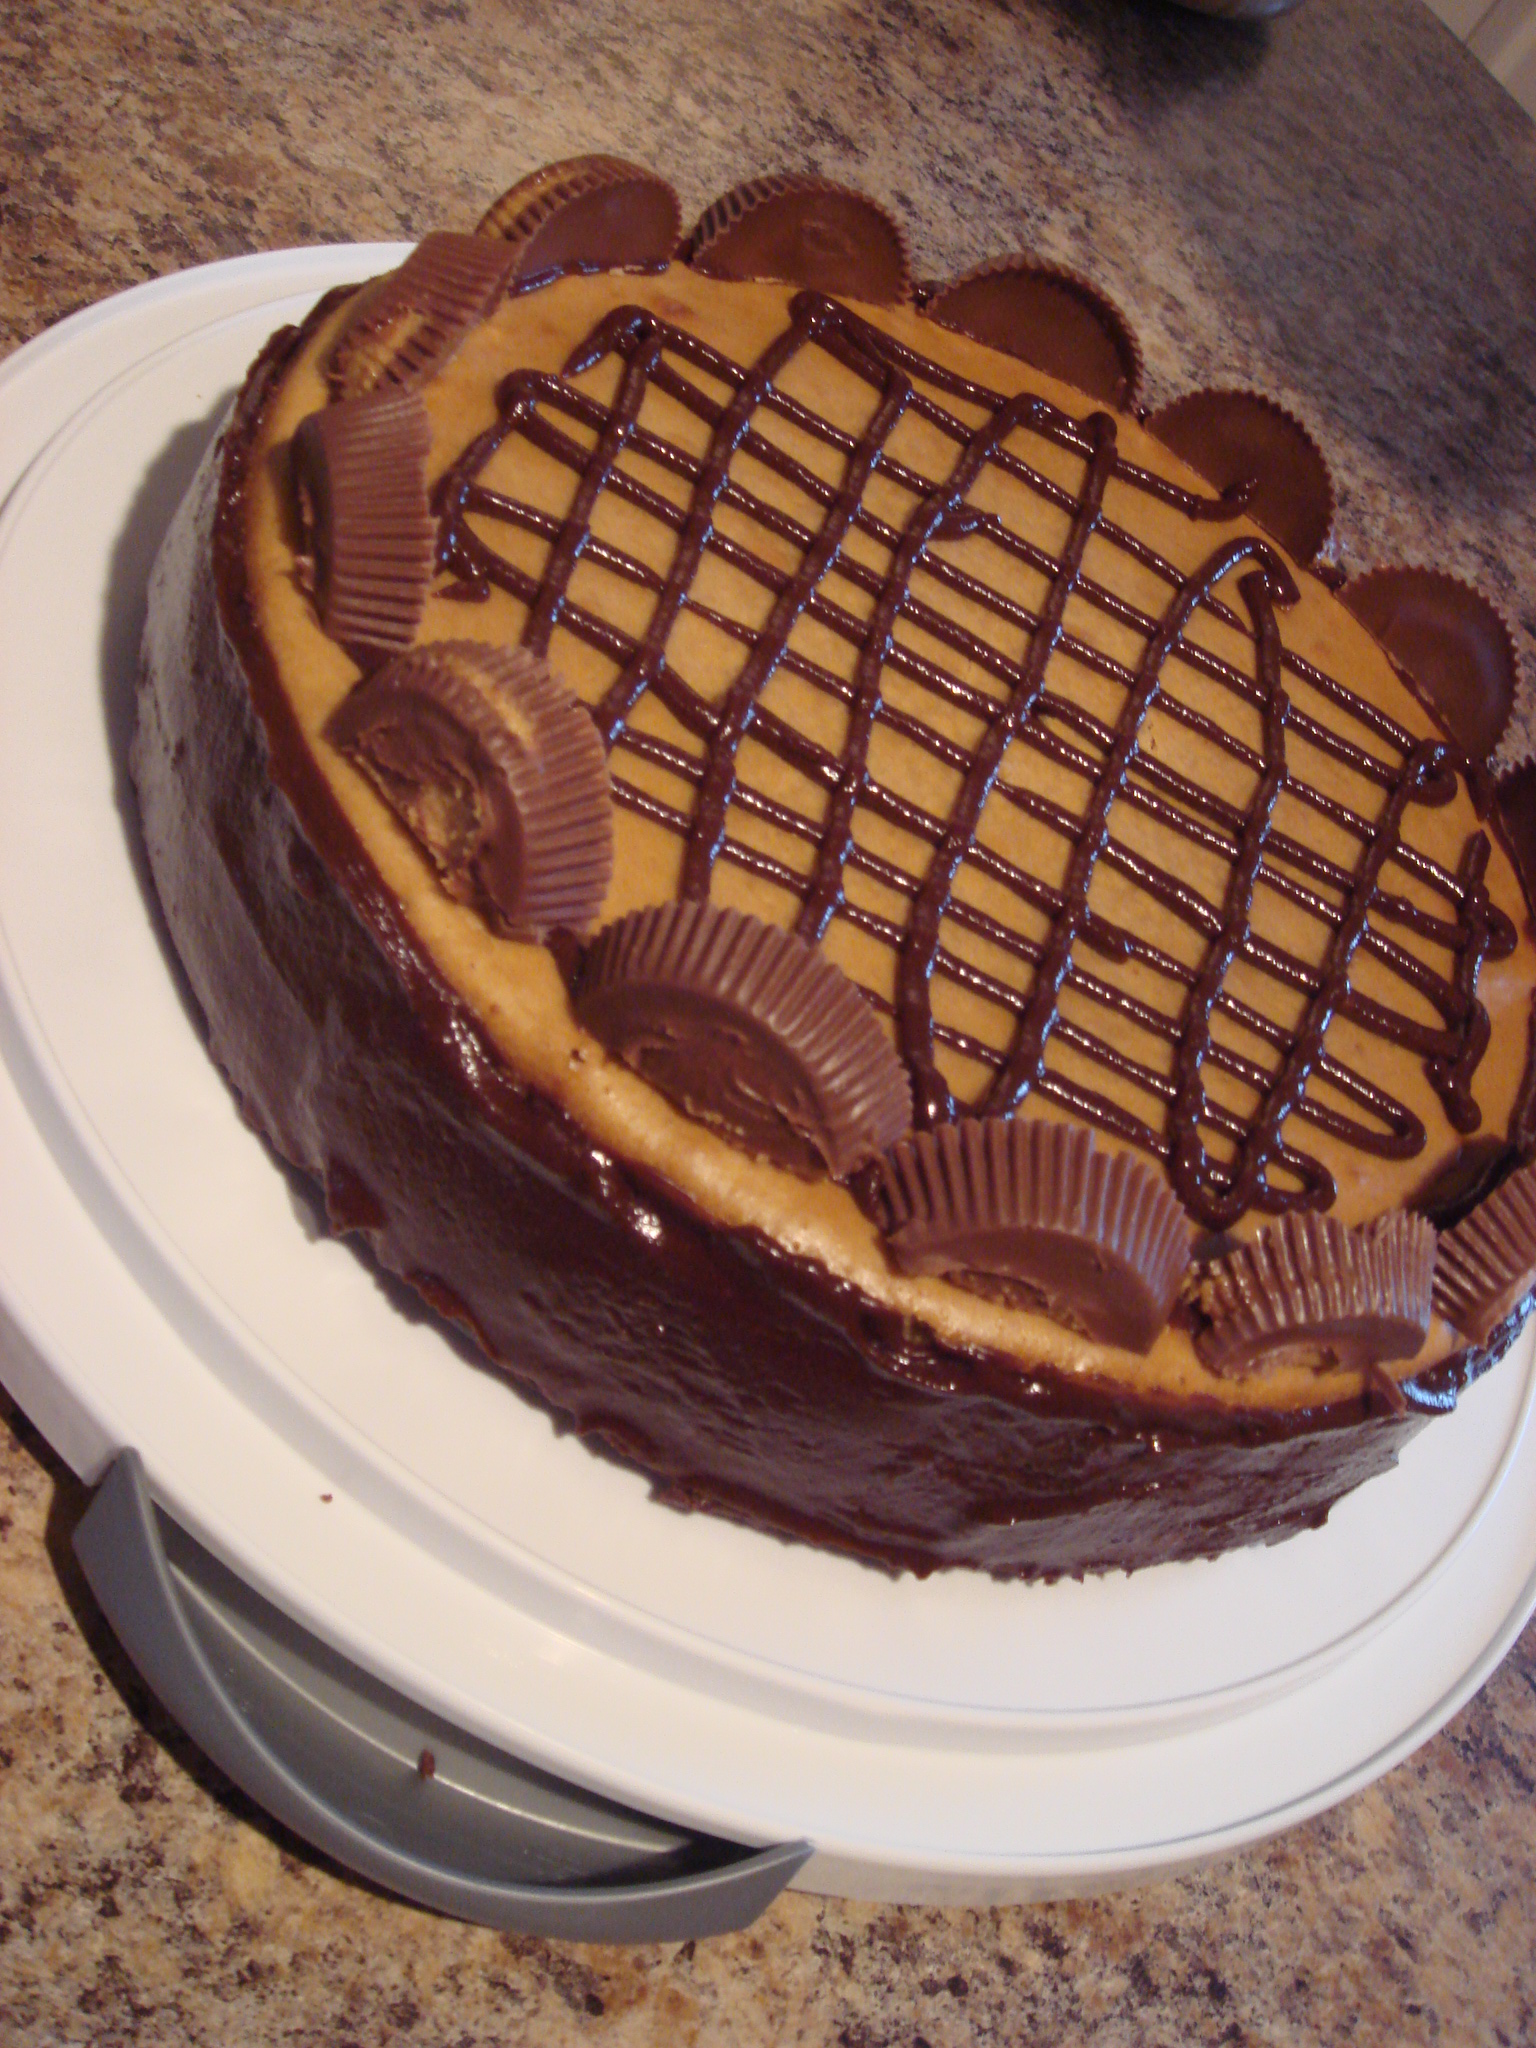
Can you feel the calories??
Are you ready for this insanity? Just looking at this recipe will instantly put 10 pounds on your frame. You think I’m kidding, but I’m not!
This was probably the hardest cake I’ve attempted yet, and it wasn’t even that bad. The most difficult thing about it is that you cook the brownie bottom first, then rebake it after you’ve added the cheesecake on top. But you line the bottom of the pan with aluminum and then immerse it in water…yeah. It was a pain. And my brownie still turned out rather dry. The solution to this is just a really reduced baking time on the brownie the first go-round. I would say bake it only until the outside is just firm. It will continue to bake once you add the cheesecake on top, I promise. Or you can just make my cupcake version, which I will get into a little further down this post.
Peanut Butter Cup Brownie Bottom Cheesecake by Erica on Tasty Kitchen
Brownie Crust Ingredients:
-1 cup semi-sweet chocolate chips
-1 cup peanut butter chips
-6 tablespoons unsalted butter, melted
-1-1/4 cups sugar
-1 tablespoon vanilla extract
-2 eggs
-1 cup plus 2 tablespoons all-purpose flour
-1/3 cup unsweetened cocoa
-1/2 teaspoon baking powder
-1/2 teaspoon salt
Cheesecake Ingredients: (this makes a TON of filling. you could probably cut it in half for a 9″ cake)
-2 lbs (this translates to four 8oz packages) cream cheese, softened
-5 eggs, at room temperature
-1-1/2 cups firmly packed brown sugar (I am not sure if this means light or dark brown sugar. I used light)
-1 cup smooth peanut butter (not natural-style)
-1/2 cups whipping cream
-1 tablespoon vanilla extract
-6 peanut butter cups, cut into quarters
Decoration Ingredients: (this also makes a ton more than necessary)
-6 peanut butter cups, cut carefully in half
-1/2 cup whipping cream
-1 cup semi-sweet chocolate chips
-1 cup peanut butter chips
What to do:
Brownie Bottom:
1. Heat oven to 350°F. Grease 9-inch springform pan with butter. (I used a 10 inch pan. Worked fine!)
2. Stir together butter, sugar and vanilla in large bowl with spoon or wire whisk. Add eggs; stir until well blended. Stir in flour, cocoa, baking powder and salt; blend well. Spread in prepared pan.
3. Bake 25 to 30 minutes (like I said, I would greatly reduce this. Start at about 15 minutes and add more if you think it needs it. Remember, it’s going back in the oven once it’s got the cheesecake on top) or until brownie begins to pull away from side of pan. Meanwhile make cheesecake layer (see below).
4. Immediately after removing brownie from oven, sprinkle milk chocolate chips, peanut butter chips and peanut butter cups over brownie surface. (I did not use the peanut butter chips here. I used milk chocolate, semi sweet chocolate and the peanut butter cups. I was afraid the peanut butter chips would make everything overwhelmingly peanut-buttery. I think it’s safe to go ahead and use them.) Spoon cheesecake mixture over chips. Turn down oven 325°.
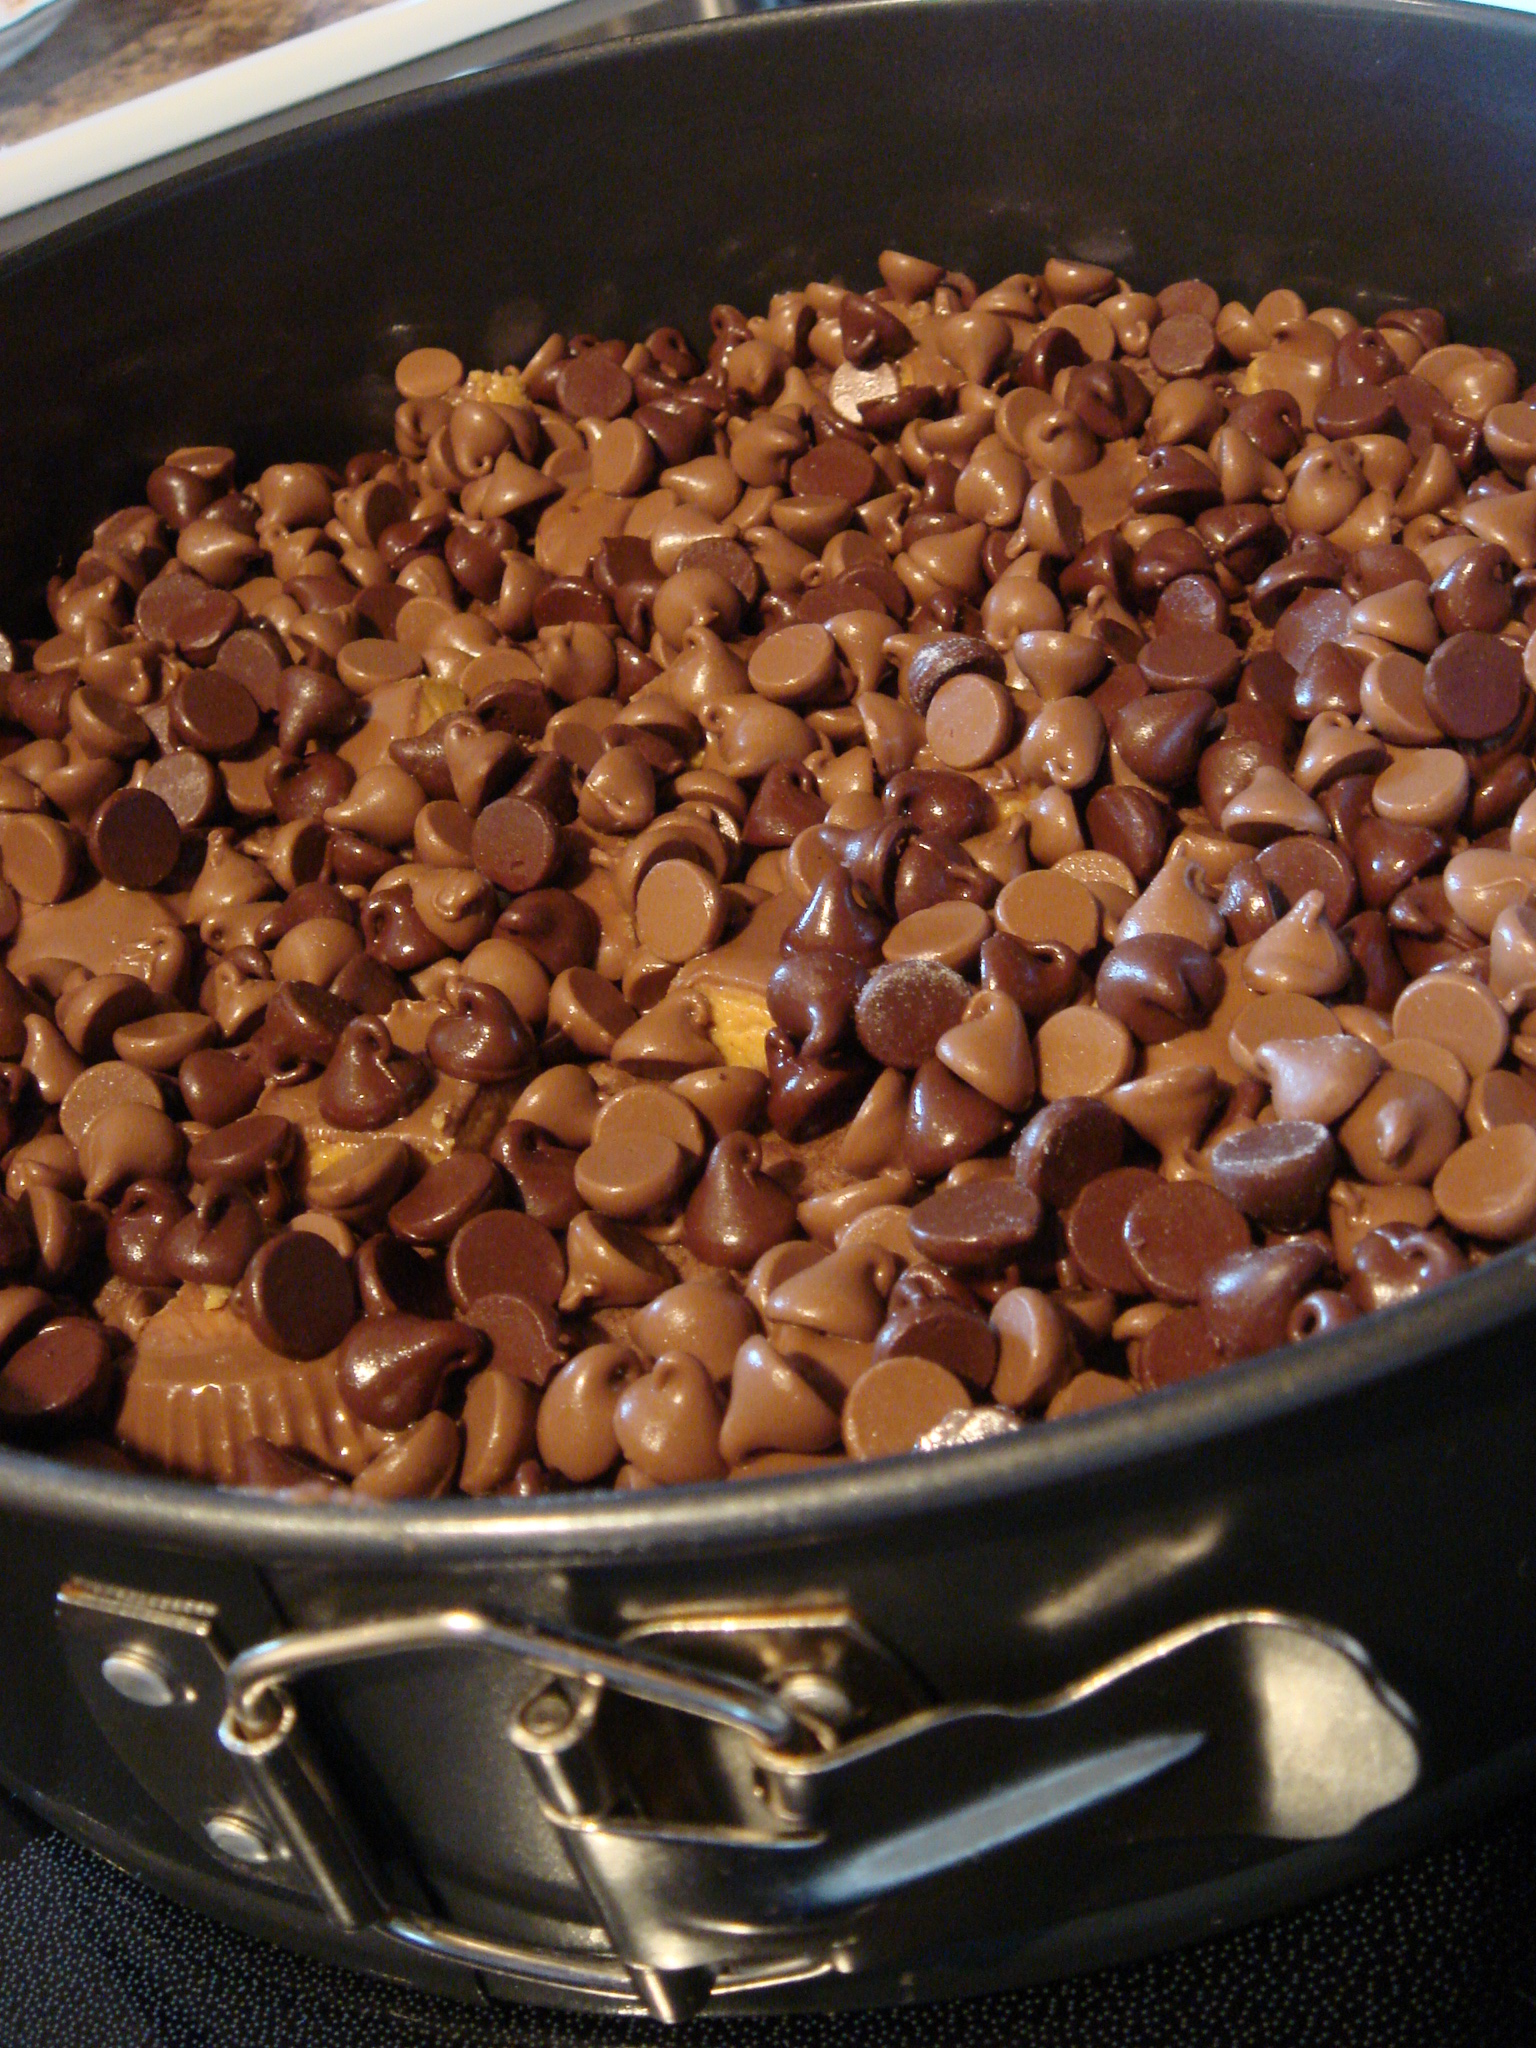
chocolate chips galor!
Cheesecake Filling:
5. Beat cream cheese in bowl of electric mixer until smooth.
6. Add eggs, one at a time, beating well after each addition.
7. Add sugar, peanut butter and cream; mix until smooth.
8. Stir in vanilla.
9. Pour filling into prepared crust.
(You will have a BUNCH of leftover filling. Set it aside to play with later.)
10. Double-wrap springform pan with aluminum foil to prevent water seeping in.
11. Place springform pan into a larger baking pan.
12. Pour hot water into the larger pan so that the water comes 1 inch up the sides of the springform pan. (A cookie sheet was the only thing I had big enough to hold the springform pan…so my water did not come up a whole inch. This also added to my brownie turning out dry.)
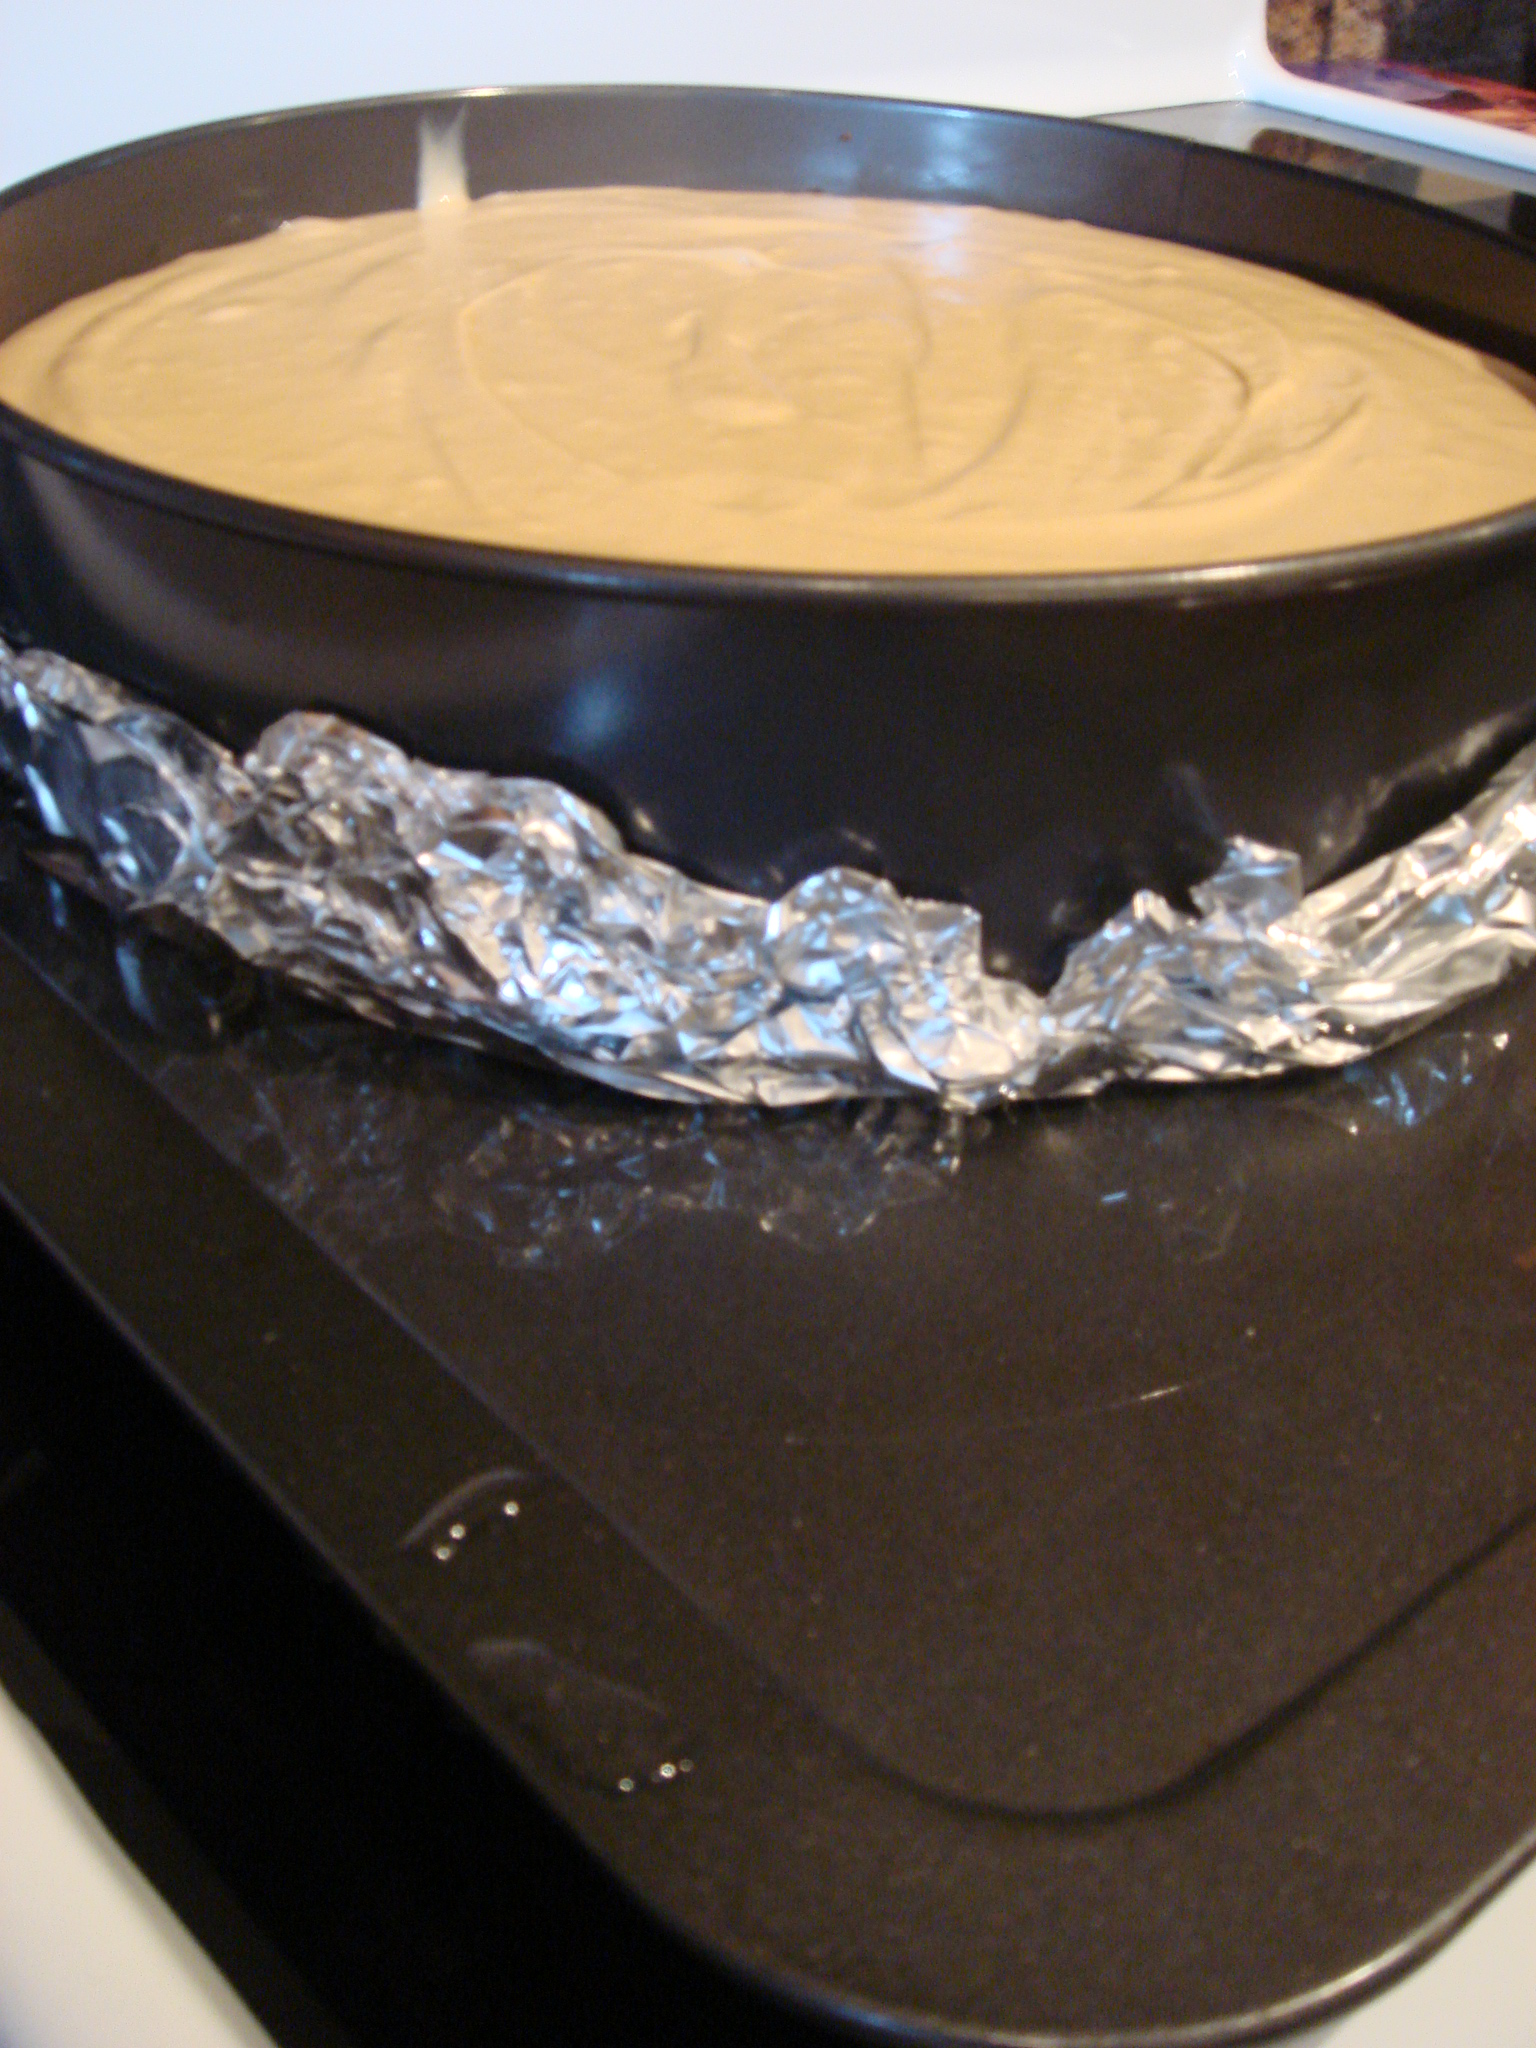
this step is a pain.
13. Bake at 325 degrees 1-1/2 hours, or until firm and lightly browned.
14. Remove from the oven and allow to cool on a wire rack for one hour. (of course I couldn’t leave it alone for an hour. I almost immediately sprang the latch on the pan so I could see what the edges looked like)
15. Run a knife along the edge of the cake to loosen it from the pan somewhat and remove the springform ring.
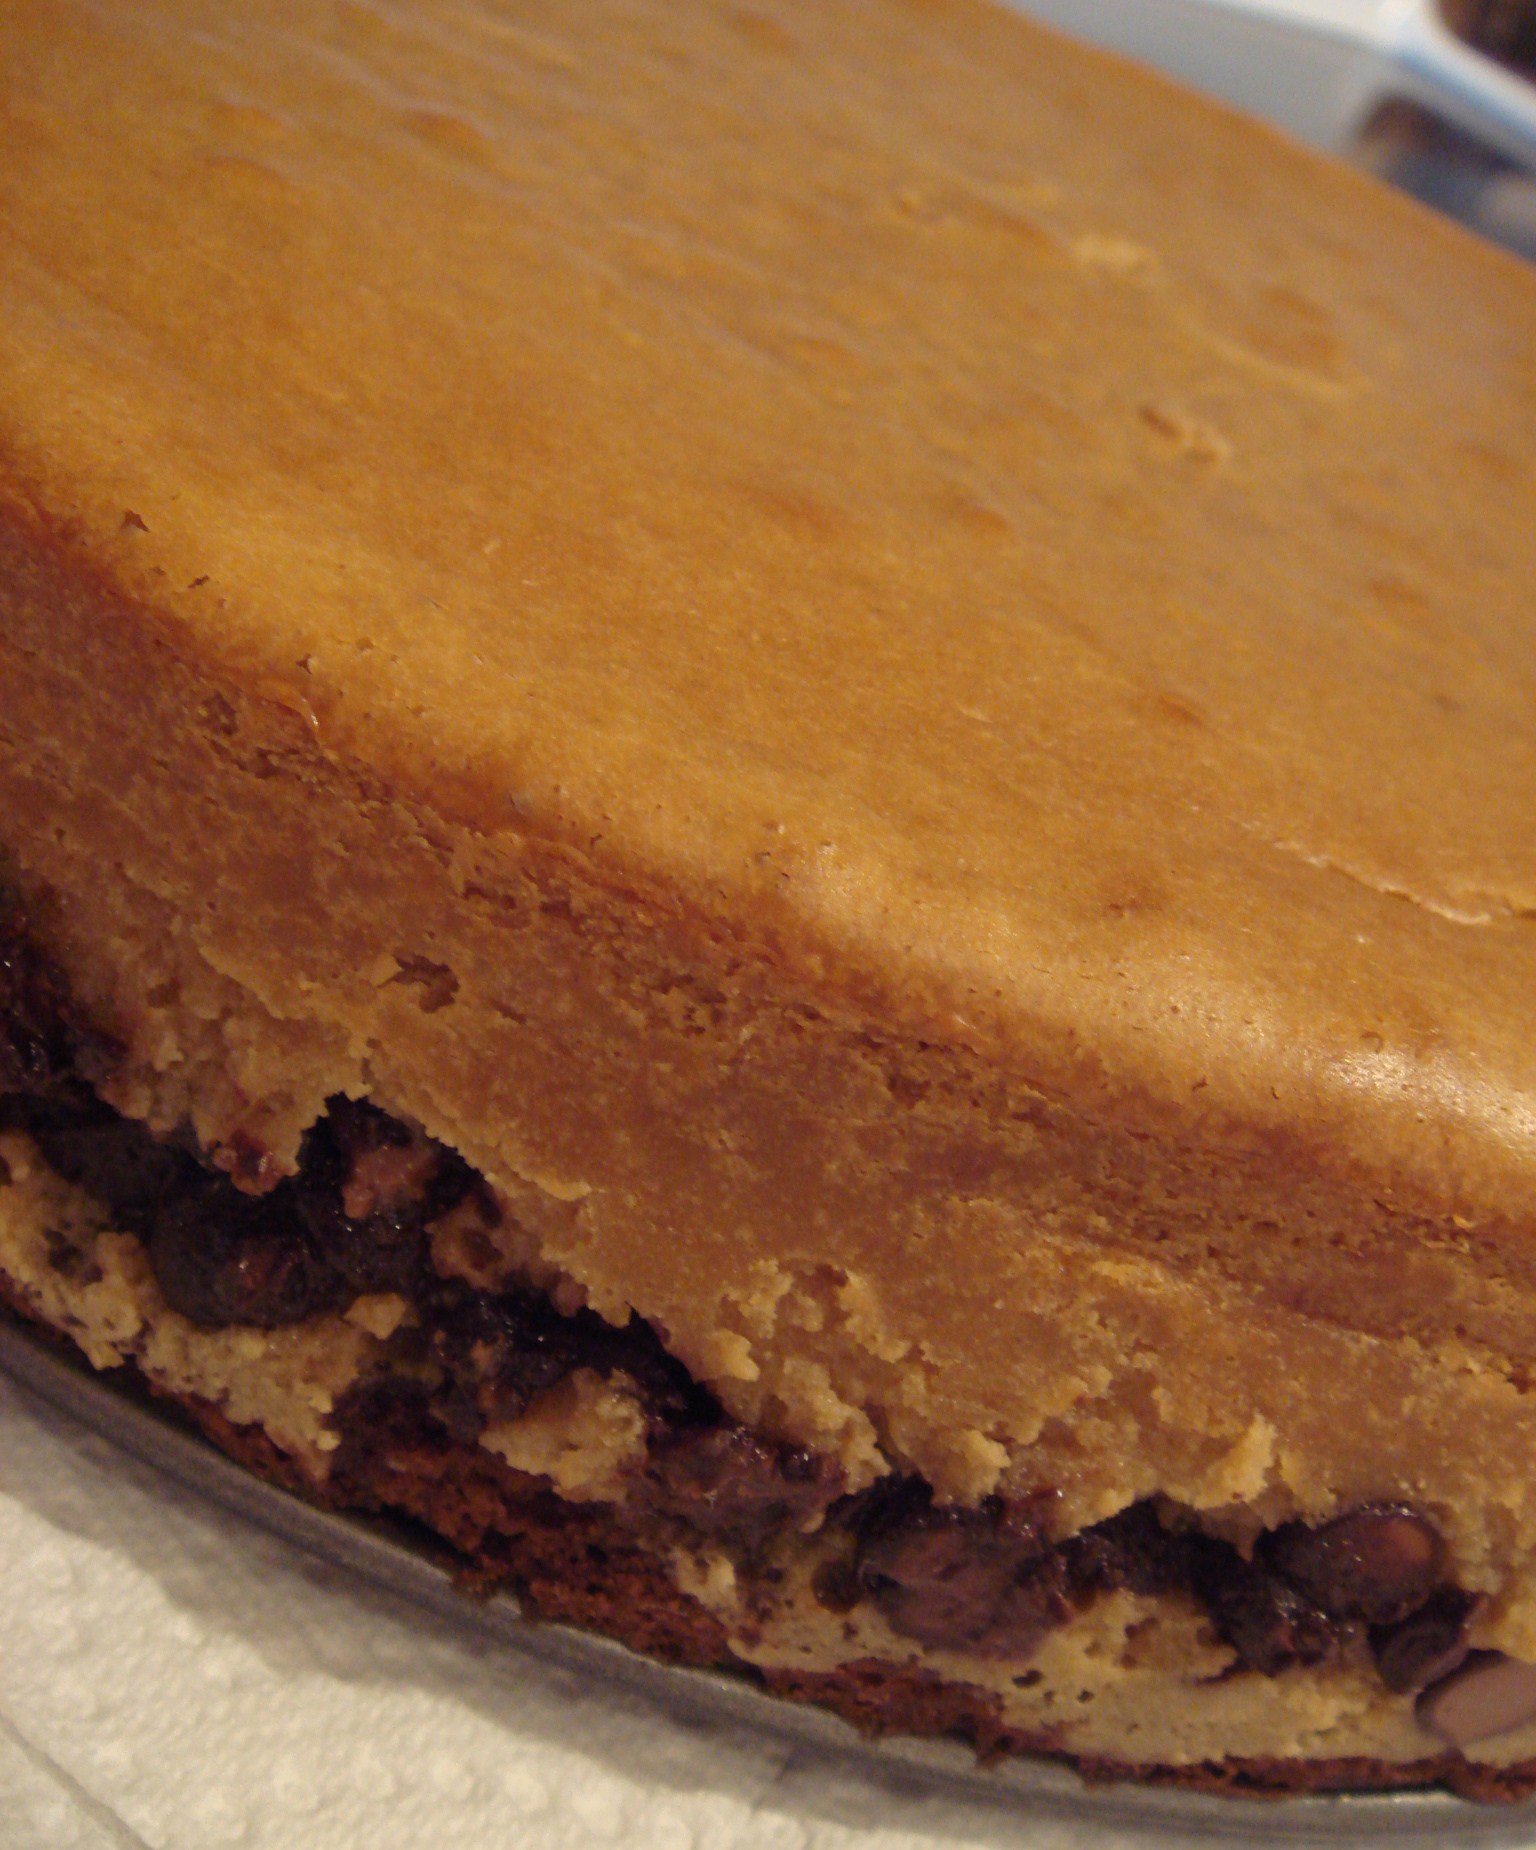
yummm
16. Refrigerate for at least 4 hours before decorating. I tend to make cheesecakes a day ahead to let things set.
Cheesecake tip: to get the cake off the bottom of the springform pan, because most crusts have butter in them, you just need to heat up the bottom of the pan a bit and the cake should come off easily. I remove the sides, then hold the pan over a burner on my stove – set to LOW – for about 15 or so seconds. Whatever you can handle. Then run a long cake spatula under the cake and it should slip easily off the pan. Just be careful – the bottom of the cake is now very slippery. (OK I did not trust myself to do all this. So I just kept my cheesecake on the bottom of the springform pan. Much easier!)
17. Remove cake from pan and put on a pretty plate. (Or if you’re like me, keep it on the pan and put it on a cake transporter so you can take it to your friends.)
Decoration:
18. Bring whipping cream to boil in a small saucepan.
19. Remove from heat and add semi-sweet and peanut butter chips. Stir, stir, stir until melted and smooth.
20. Drizzle over cake and then add peanut butter cup halves around the edge of the cake. (This made a TON of icing. So I used a spatula and spread icing all around the edge of the cake, refrigerated it until it set, and then did it again. Then I used a ziploc with a hole cut in the tip to pipe a line around the top edge to stick the Reece’s to, then did my drizzly design over the rest of the top. And still had enough left over to do my cupcakes!)
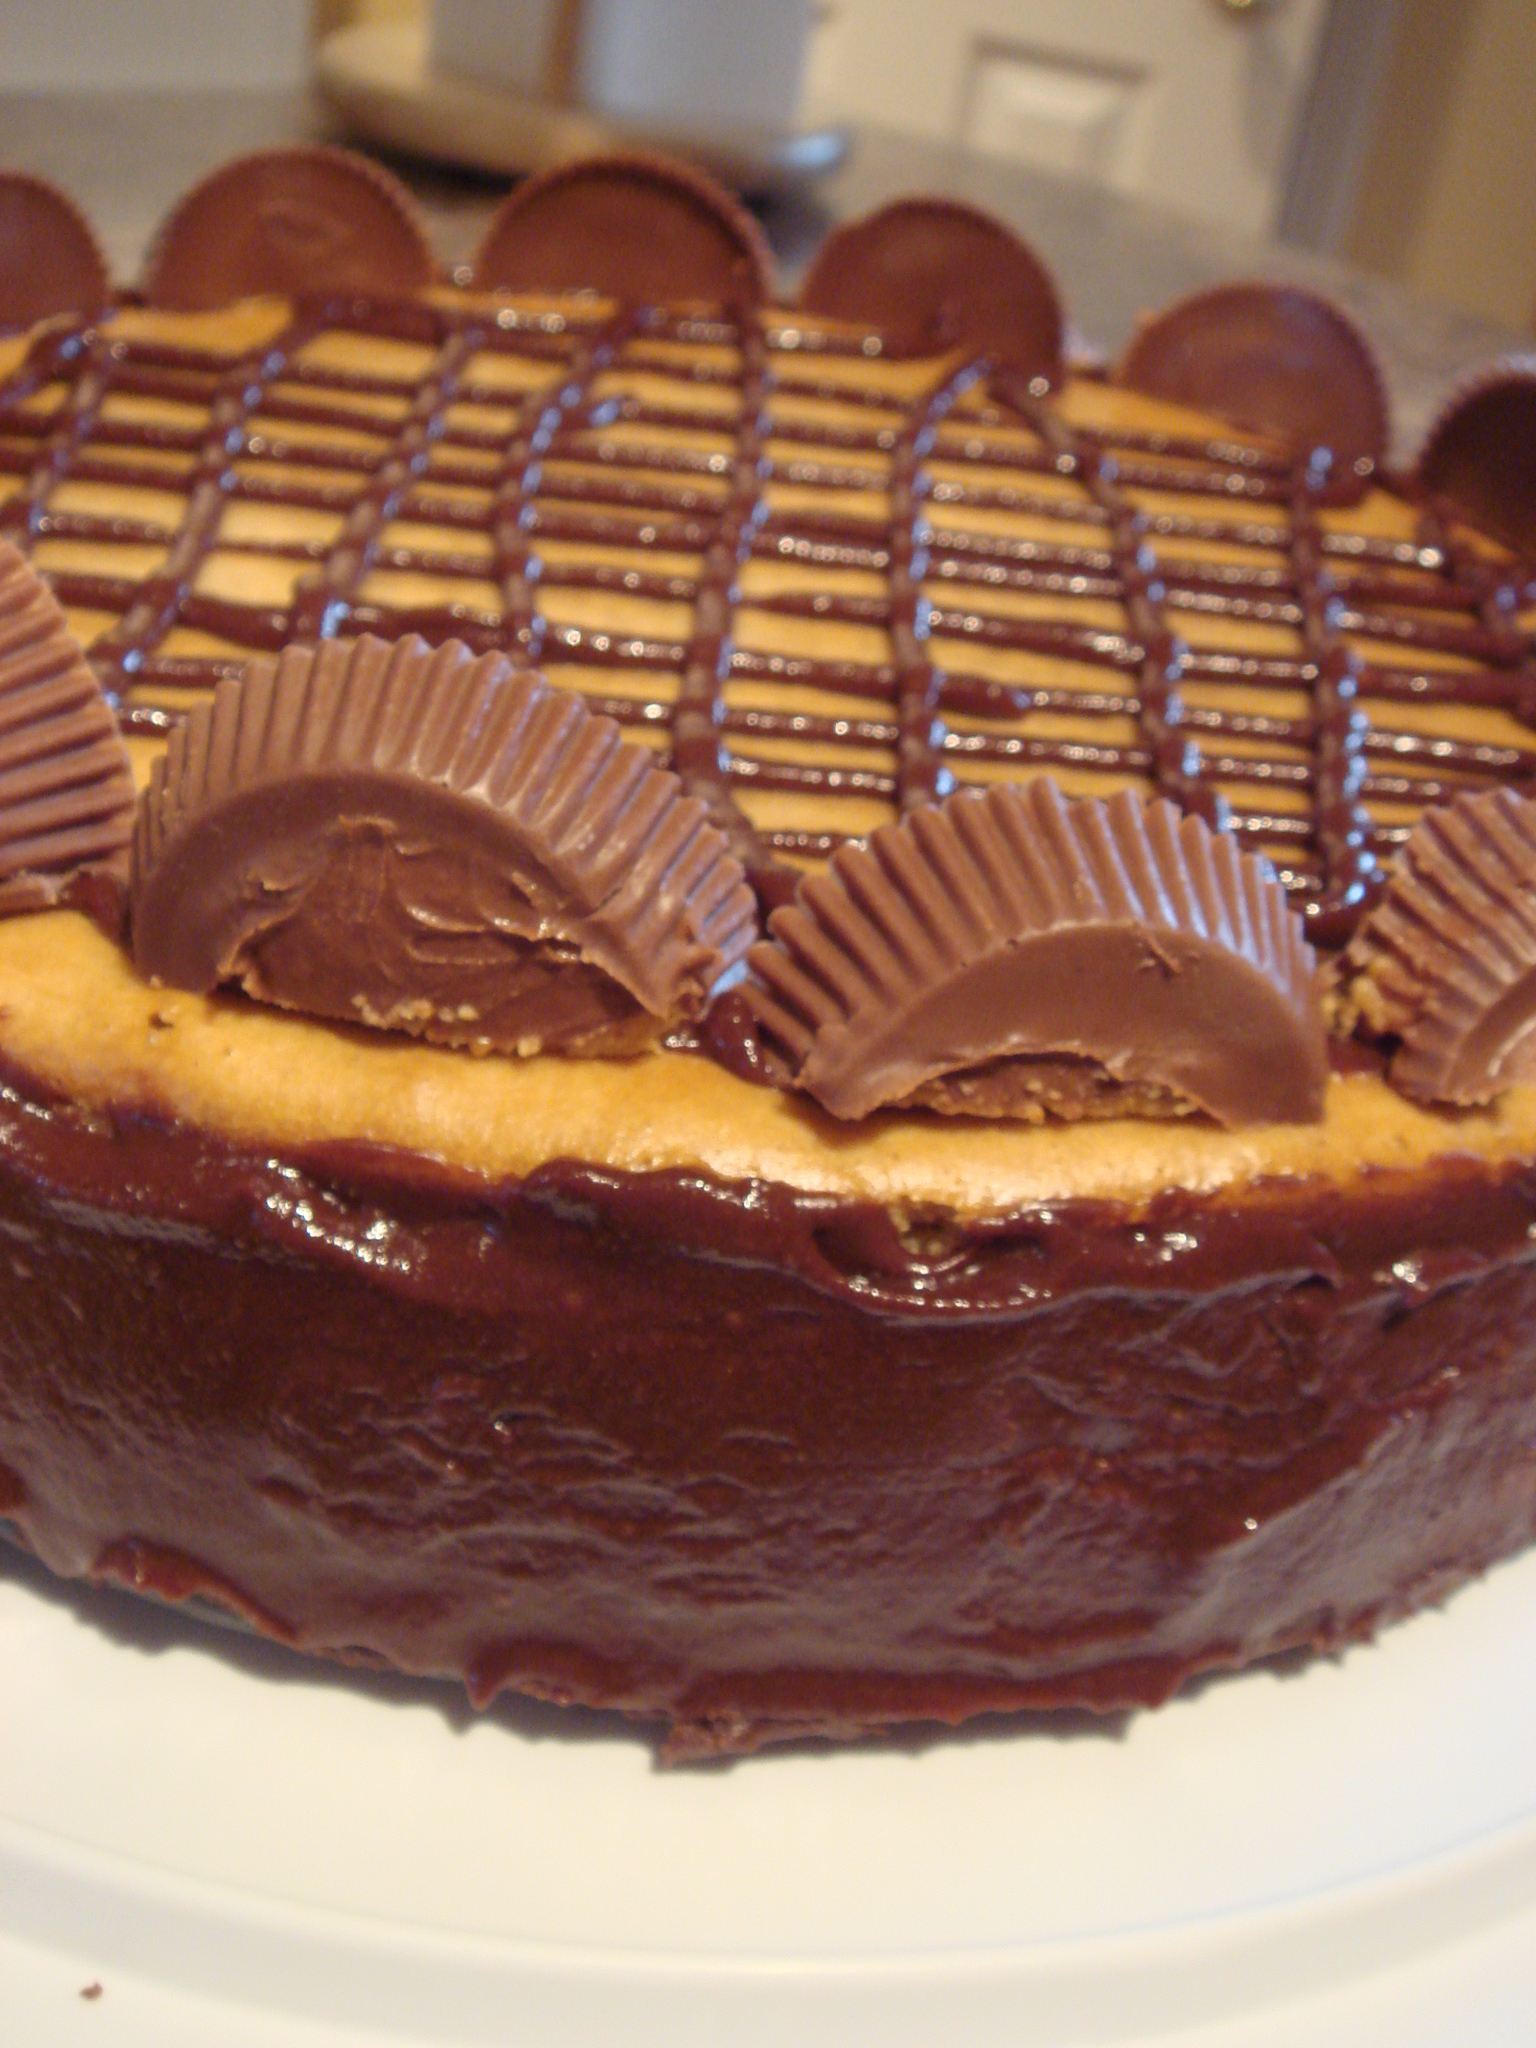
all done. pretty neat, eh?!
Like I said, this turned out pretty good. Everybody but David seemed to really enjoy it. David does not like sweets, unless his Mom makes them. Does this make me bitter? Yes, a bit. (heh heh) But the brownie was not doing it for me, which was sad because I love brownies. This is what I did with the leftover cheesecake filling and icing, and I think it turned out way better than the above cheesecake:
-Mix up 1 box of triple chocolate brownie batter according to directions on box for “fudgy” brownies.
-Line muffin tins with aluminum liners and fill 1/4 of the way. The brownie batter will rise quite a bit.
-Bake at 350° somewhere between 10-15 minutes. Do not bake until done! Just until brownies start to set.
-Remove from oven, turn oven down to 325°. Pour cheesecake filling over brownies until muffin liner is 3/4 full. Set muffin tin in a cookie sheet filled with water and bake about 30 minutes, or until cheesecake starts to turn golden and firm.
-Remove from oven and let cool, then pipe remaining icing over top to decorate as you see fit. You might like them like this:
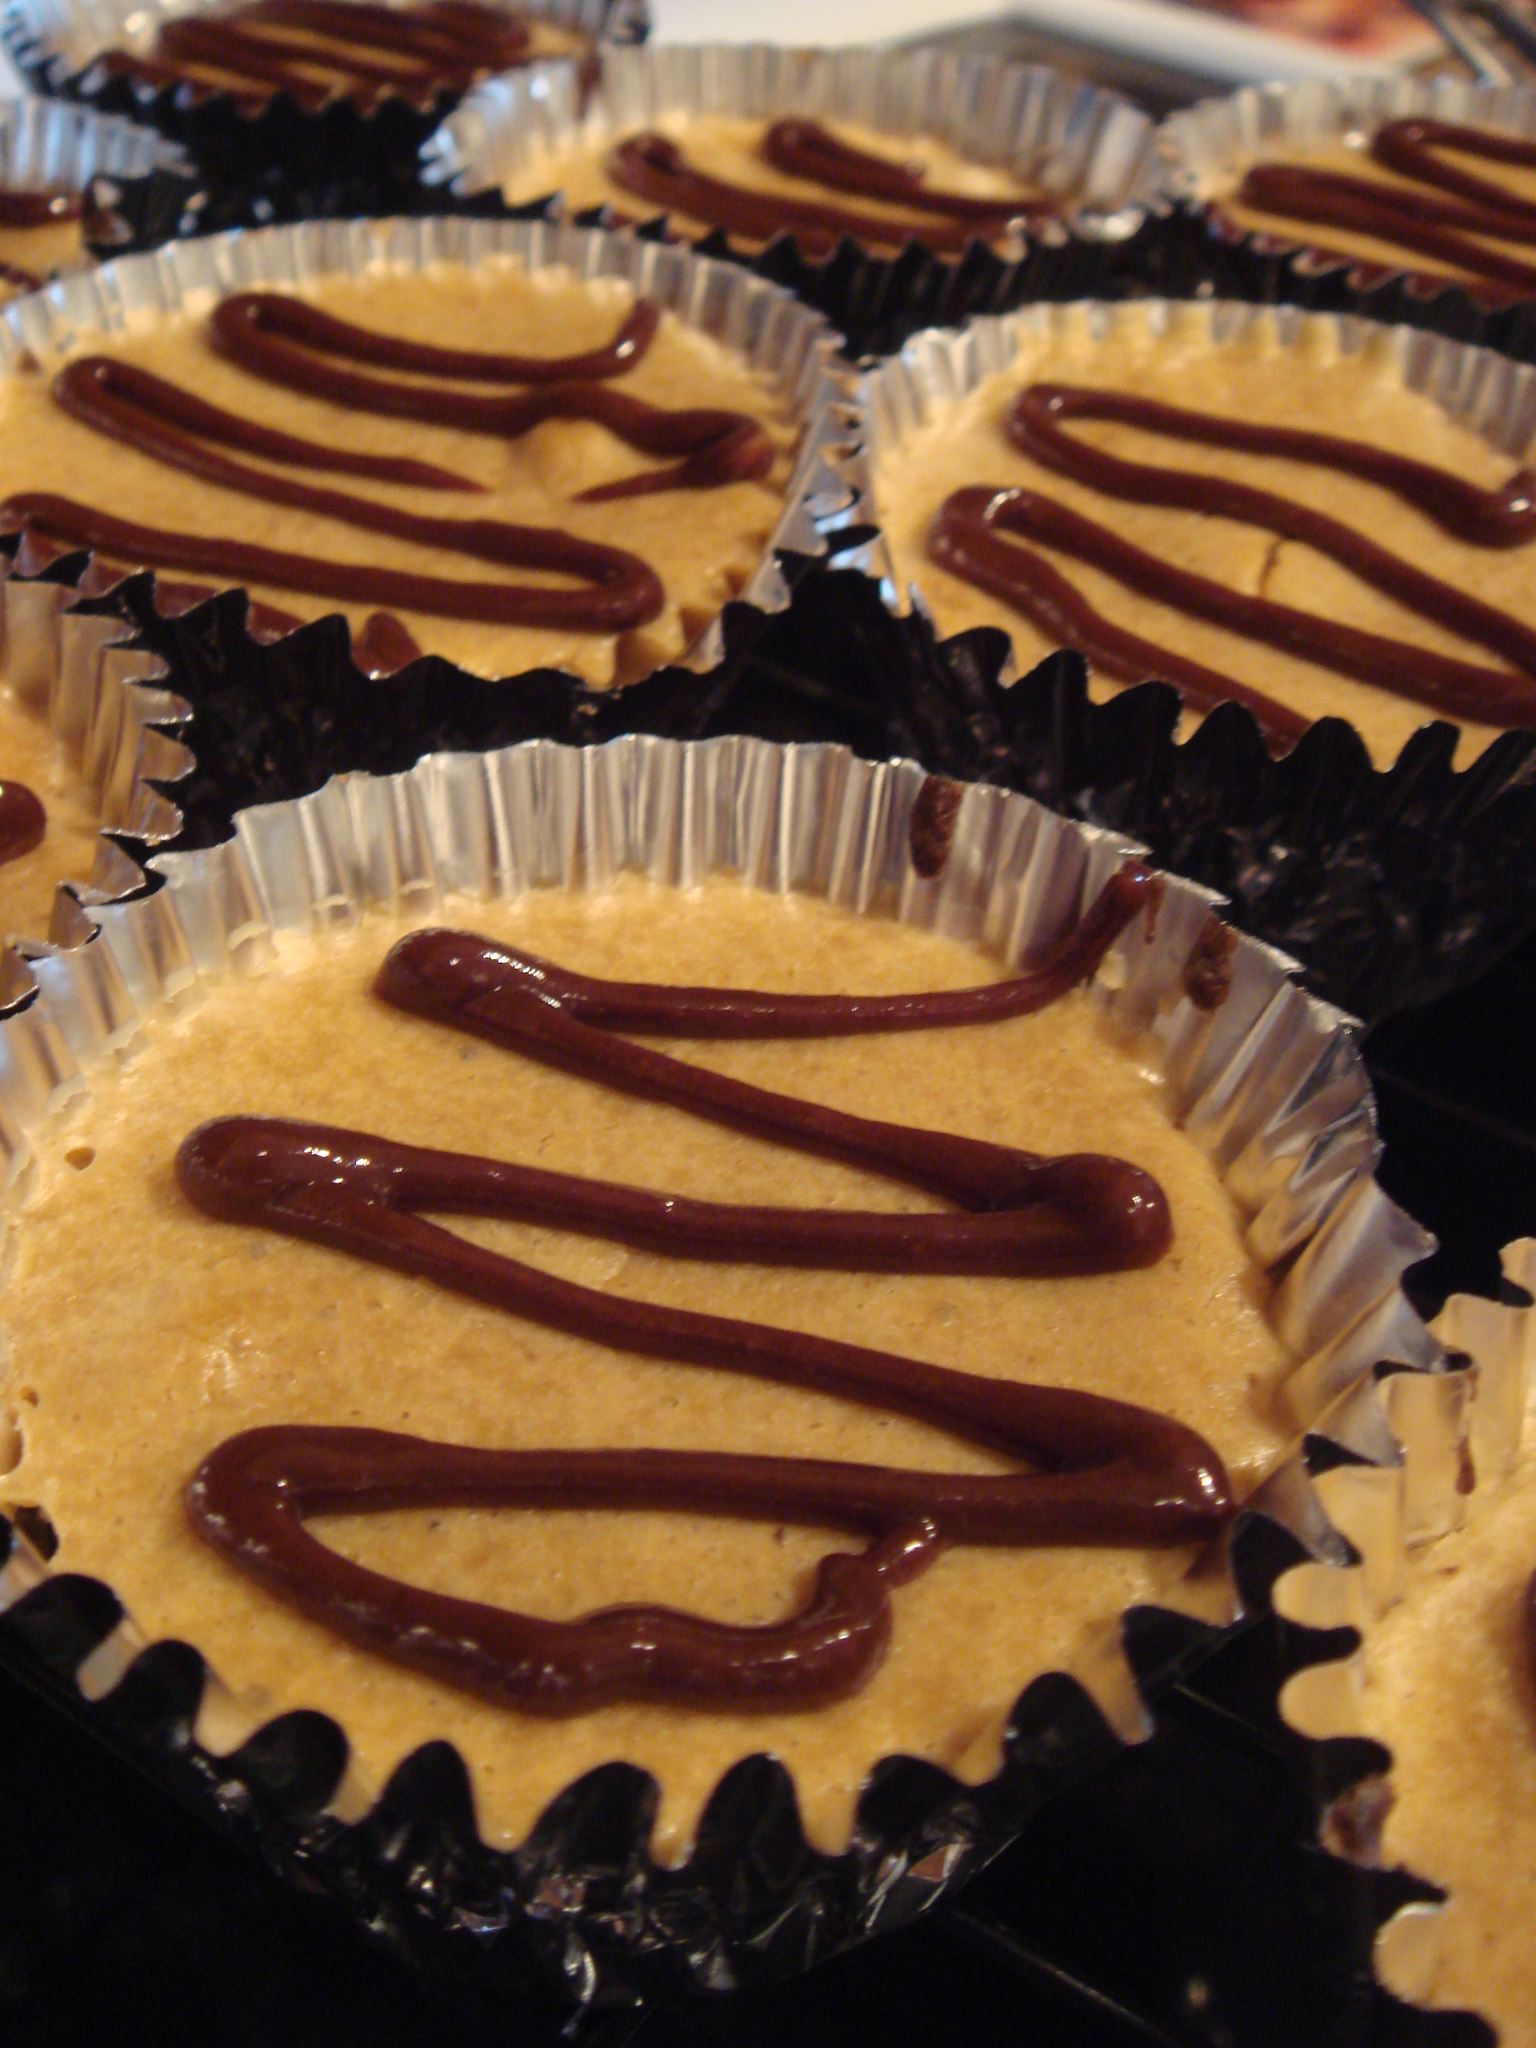
ooooh....
Or you might want to add some Reece’s Peanut Butter Cup slices, like this:
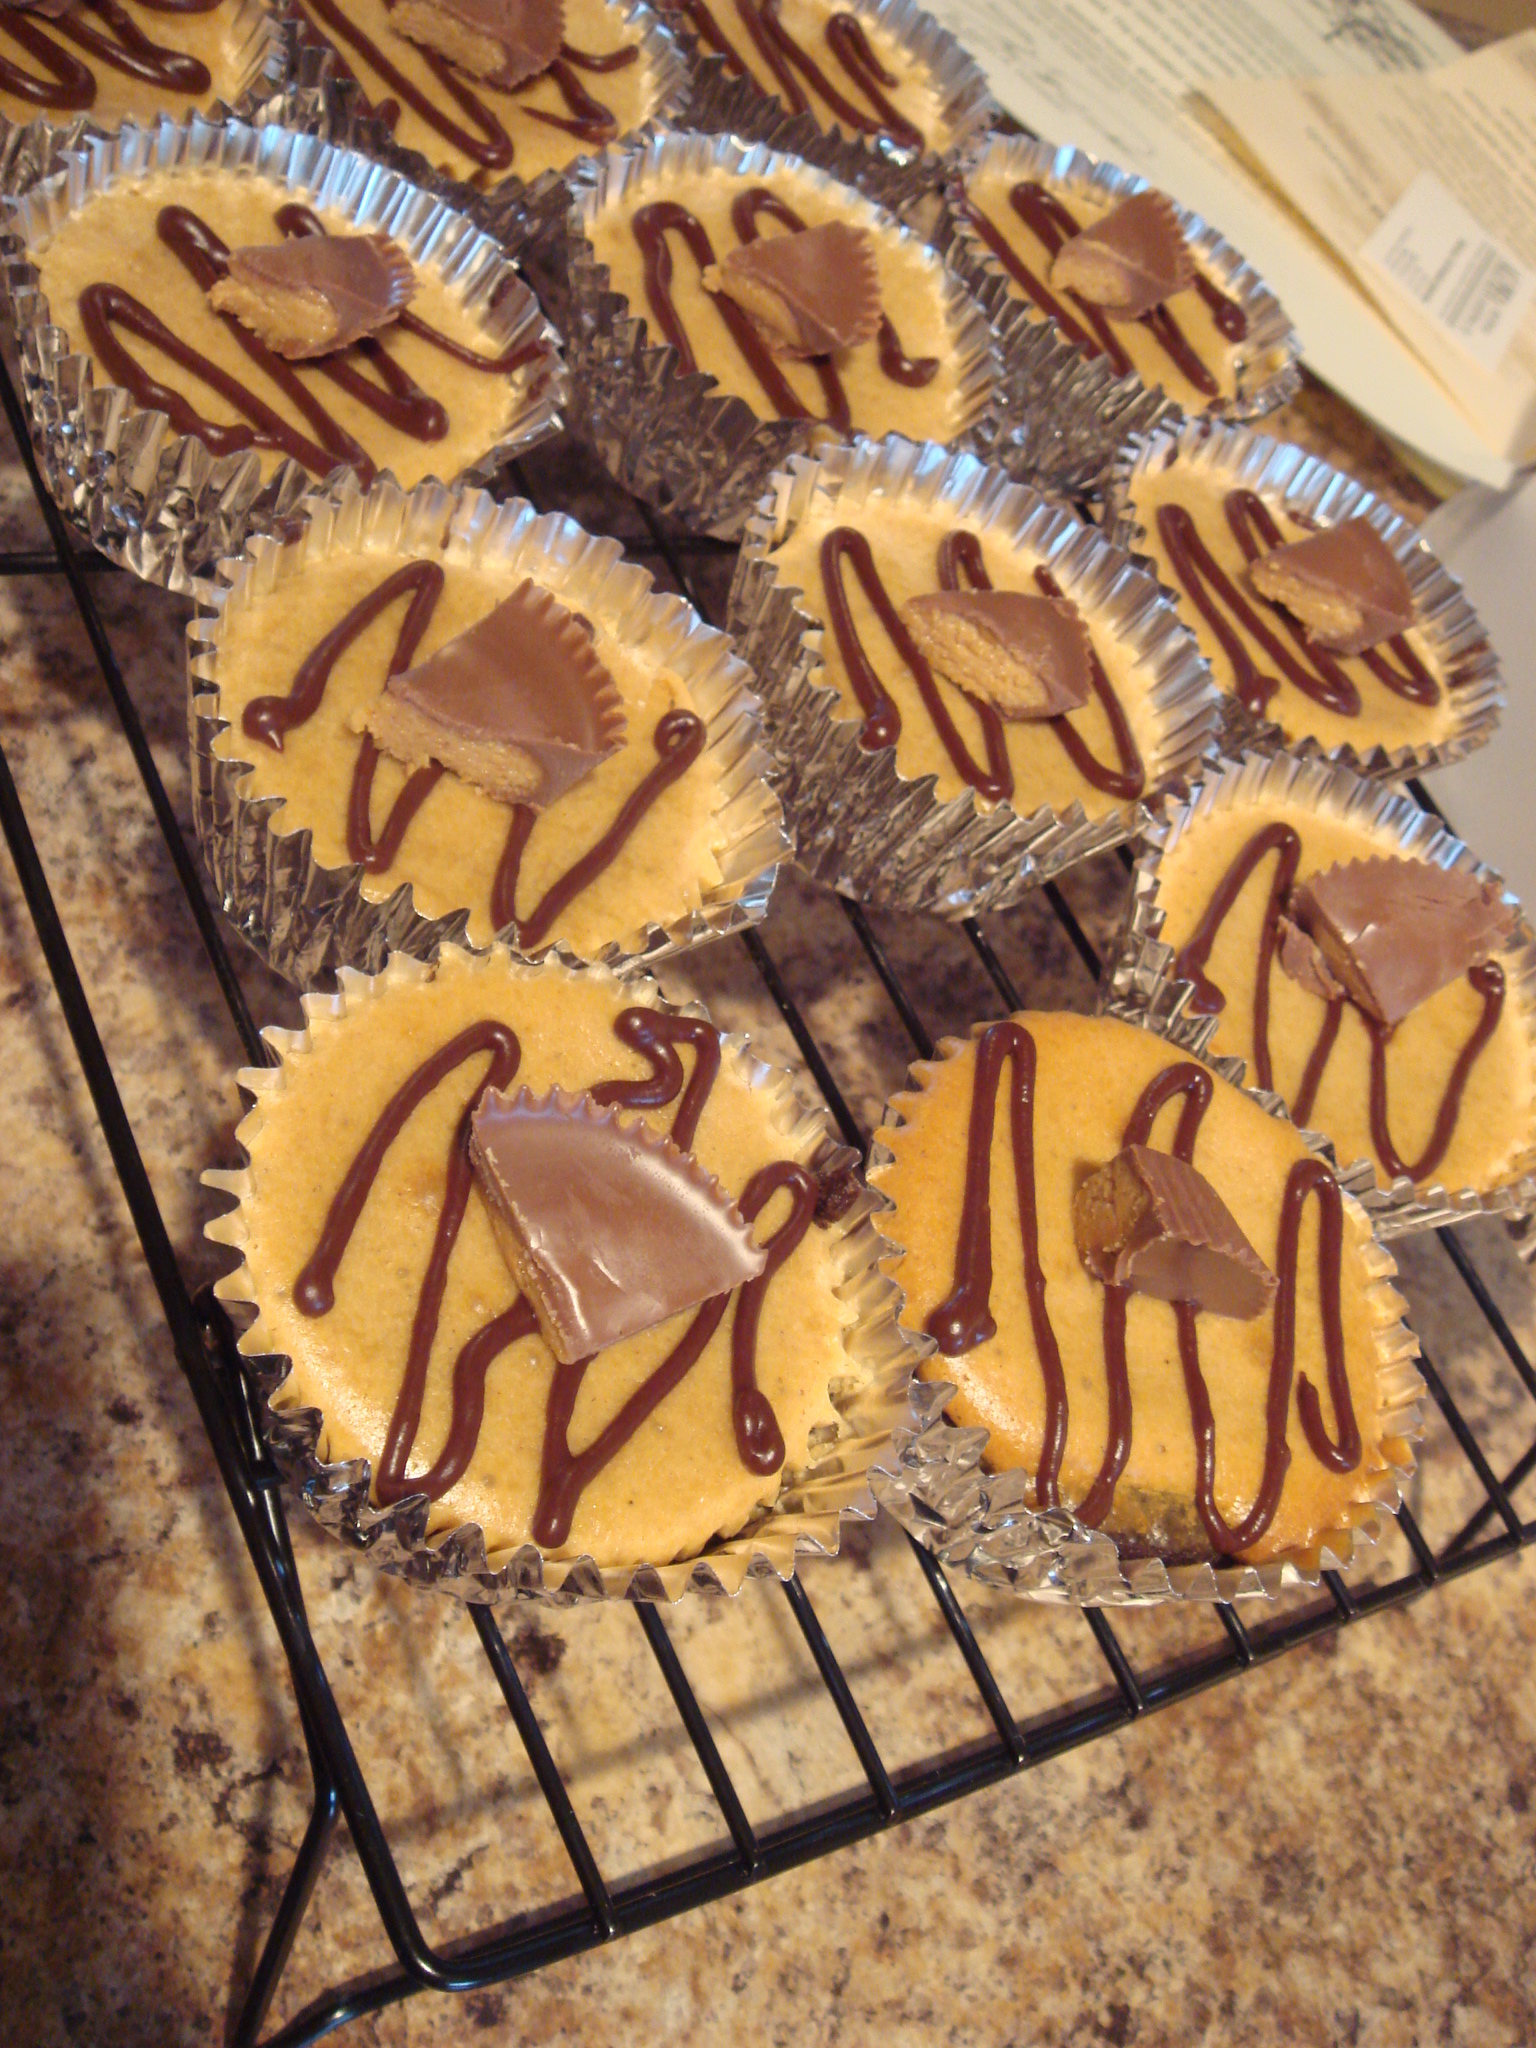
aaahhhh!
But either way, you are sure to love these little treats. Trust me. I know my desserts!
Enjoy those extra pounds,
Becki




{ 4 comments… read them below or add one }
I can personally attest to the pure awesomeness of this dessert. Seriously Becki, you need to bake professionally. Thanks for bringing it over and more importantly LEAVING it 🙂
holy cow, yum-o. I’ve been saving your recipes on my computer, but this one i will not. i will enjoy the pictures, not the pounds. i’ve been working too hard the last 2 weeks getting off what i gained during the PCS! haha
yeah, I don’t blame you. this is one to make only if you have people – lots of people – to feed it to. Otherwise it will sit in your fridge and call your name….and it’s got a pretty convincing call!
oh my I will have to try this one!!!